Android Slide Button
Slide Button is a button through which you will slide your finger instead of pressing and the task is done whatever task is assigned to that Slide button.


To do so you need to do the following steps :
1. Start Android Studio
2. Name the project as AndroidSlideButton.

3. Set the API level, min SDK...
4. Select Empty Activity
5. Now select the names for your activity.

6.Click Finish Button to start coding.........
7. Go to gradle file and add library to compile
//Library for SlideButton Classcompile 'com.shitij.goyal:slide-button:1.0.0'

8. One more important thing to check here is your minSDKVersion if it is 15 change it to 17 because the library we have added need minSDKVersion 17.
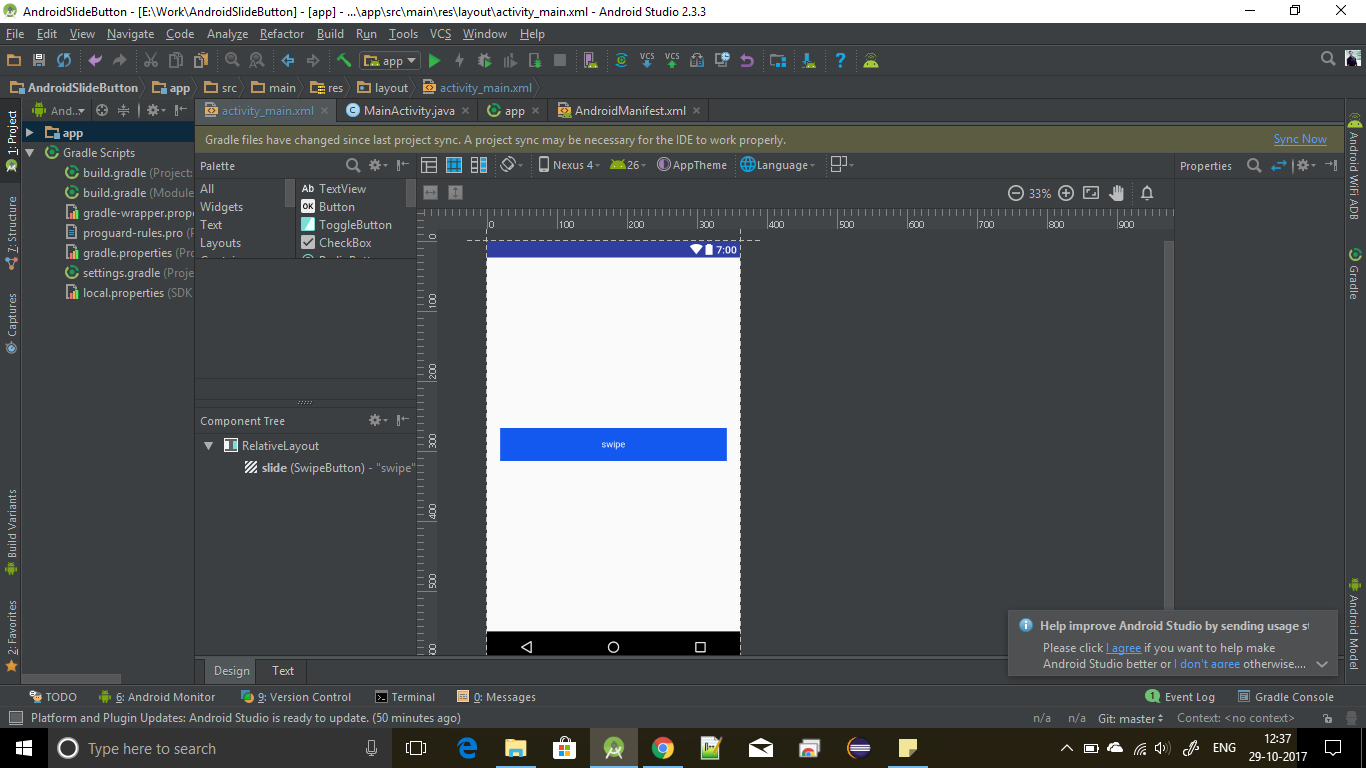
9. Sync the gradle and the go to the activity_main.xml file located inside the res->layout directory
10. Now take a relative layout for your activity and inside the relative layout create com.shitij.goyal.slidebutton.SwipeButton

11. Add some properties to button like this.....
12. Now go to style.xml file located in res->value->style.xml
13. Make some changes here inside style tag(parent="Theme.AppCompat.Light.NoActionBar")

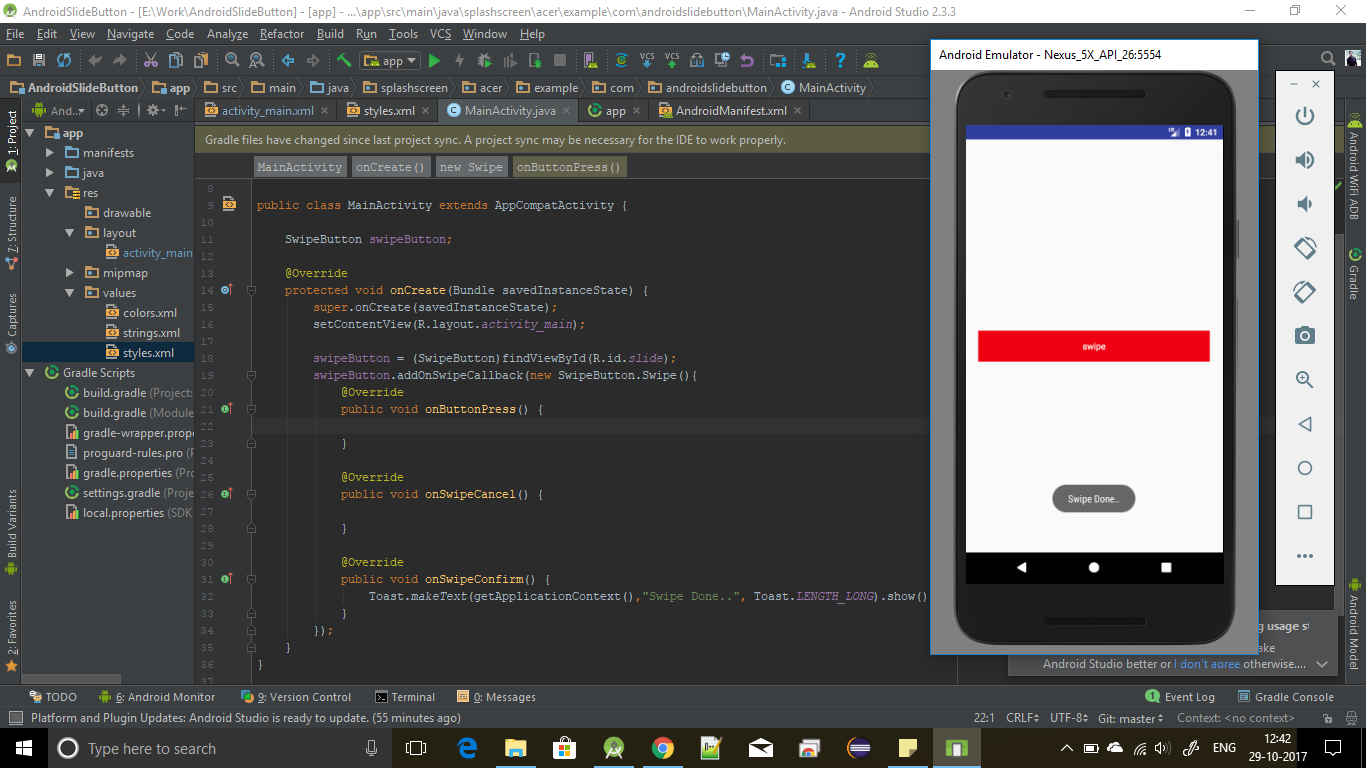
14.Now go to the MainActivity.java file
15. Create reference variable for SlideButton class at class level like this(SwipeButton swipeButton;)
16. Inside onCreate() function write swipeButton = (SwipeButton)findViewById(R.id.slide);
17. Call method addOnSwipeCallback method on the swipeButton reference.
18. Now @Override methods onSwipeConfirm(), onSwipeCancle(), onButtonPress().
19. Logic you want to perform after button swipe need to be written inside the method onSwipeConfirm()

20. Run app in emulator and see the output...
21. Now Swipe the button and you will see the change in color inside button which will show swipe is working.

22. After swipe is done a toast will pop up with message "Swipe Done..." and color of button will turn red
If you like it keep sharing......
GitHub: https://goo.gl/24u2kU
Facebook: https://www.facebook.com/techfreakravissingh/
Twitter: https://twitter.com/tech_freak_ravi
GitHub: https://goo.gl/24u2kU
Facebook: https://www.facebook.com/techfreakravissingh/
Twitter: https://twitter.com/tech_freak_ravi

Comments
Post a Comment